
Behind these breathtaking birds lies a delicate and intricate process of successfully hatching peacock eggs. These stunning creatures symbolise beauty and grace, but their journey from egg to adulthood is fraught with challenges that can deter even the most dedicated breeders.
Hatching peafowl eggs presents unique obstacles, like fluctuating temperatures, humidity levels, and potential predation, that require careful attention and expertise. Some breeders rely on traditional methods that mimic nature’s course under a brooding hen, while others embrace modern techniques by utilising incubators explicitly designed for poultry.
Understanding Successfully Hatching Peacock Eggs
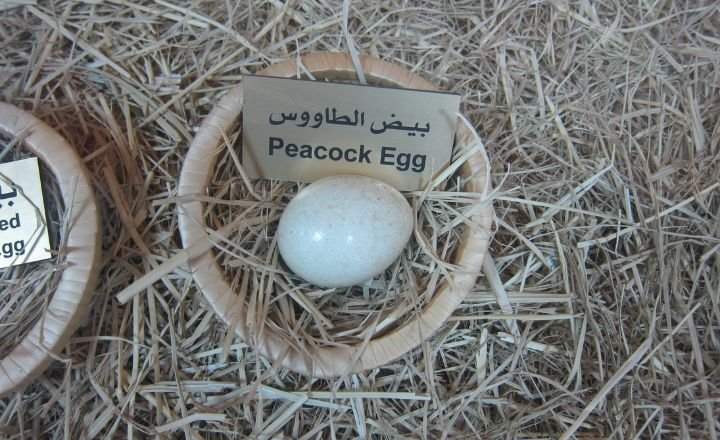
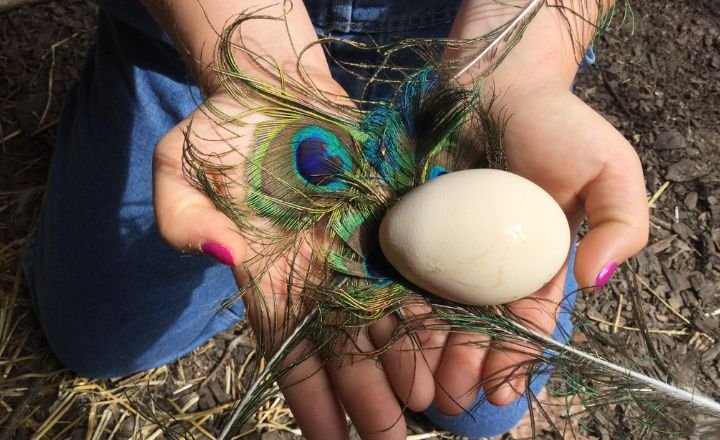
Peacock eggs, typically 4 to 5 inches long and weighing approximately 150 grams each, are distinctively larger than chicken eggs. Their shells possess a glossy finish with a less porous texture than other avian eggs, providing better protection against environmental factors.
When examining peacock eggs for signs of fertility, look for subtle colour variations; fertile eggs may exhibit slightly muted tones due to thicker protective coating. When searching for peacock eggs for sale, it’s crucial to prioritise the source. Look for reputable breeders who are well-versed in avian care and have a strong track record of breeding healthy birds.
Engaging with local aviculture clubs or online forums can also provide valuable leads to trustworthy sellers. Always inquire about the conditions under which the peafowl are kept; a clean, spacious environment often indicates a breeder’s commitment to animal welfare.
How To Hatch Peacock Eggs Without An Incubator?
Hatching peacock eggs without an incubator can be a rewarding and natural process, best achieved with the help of a broody hen or peahen. These remarkable birds have an innate ability to maintain optimal conditions for their future offspring, so choosing a reliable surrogate is crucial.
Ensure the surrogate is comfortable and attentive, and look for signs of maternal solid instincts, such as nest building and consistent warmth. This guarantees practical incubation and enhances the chicks’ chances of survival once they hatch. Creating a favorable environment for natural hatching involves careful consideration of temperature and humidity.
A broody hen maintains an ideal temperature range between 99°F and 100°F (37°C and 38°C) and humidity levels around 50-65%. To support this, ensure the nesting area is sheltered from wind and harsh weather while allowing ample access to food and water for the mother and potential chicks.
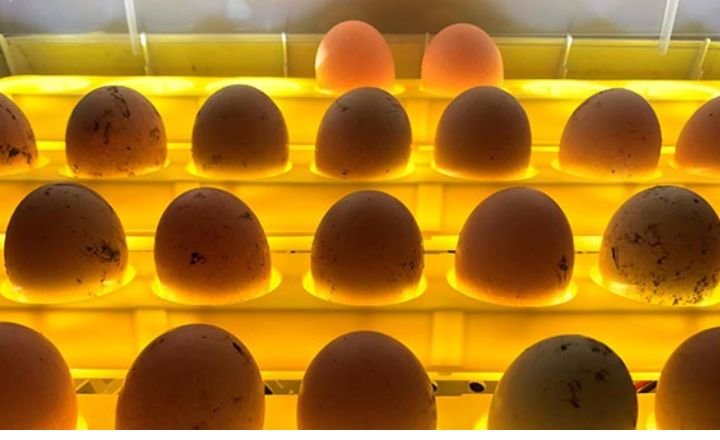
Using An Incubator For Peacock Eggs
When selecting the best incubator for peacock eggs, it’s essential to consider specific features tailored to their unique needs. First and foremost, a reliable peacock egg incubator must maintain a steady temperature of around 99.5°F (37.5°C) with minimal fluctuations.
- This is crucial as any significant deviation can lead to developmental issues or even embryo loss.
- Humidity levels should be carefully monitored, with around 50-60% humidity maintained during incubation.
- Increasing it to about 70% before hatching will provide optimal conditions for both the growing embryos and prevent excessive dryness.
- An incubator with automatic egg-turning capabilities since manual turning can disrupt egg development if not done consistently.
- Units equipped with digital displays allow for easier monitoring of temperature and humidity levels, which promotes peace of mind during the lengthy incubation period, which for peafowl eggs lasts about 28 days.
Popular models like the Brinsea Ova-Easy or GQF Sportsman have garnered praise among breeders for their reliability and user-friendly interfaces, making them excellent choices in your quest to successfully hatch these magnificent birds while ensuring they thrive from day one!
Peacock Egg Incubation Temperature And Humidity
Peacock eggs require a delicate balance of temperature and humidity during incubation to ensure optimal embryo development. The ideal incubation temperature ranges between 99°F to 100°F (37.2°C to 37.8°C), with slight fluctuations permissible. Maintaining consistent temperatures is crucial, as deviations can lead to malformations or failure in hatching.
The right temperature and humidity levels should hover around 50% to 55% for the first part of the incubation period, increasing to about 65% during the final days before hatching. This gradual increase mimics natural conditions and critically impacts the embryo’s water absorption.
Common mistakes include overheating or underheating due to inaccurate thermometer calibration or poor airflow within the incubator. Regular monitoring with multiple thermometers can be invaluable to mitigate these risks, ensuring adequate ventilation and allowing fresh air exchange while maintaining desired humidity levels.
Peacock Egg Incubation Chart
When embarking on the enchanting journey of hatching peacock eggs, understanding the Peacock Egg Incubation Chart is essential for success. The first phase, spanning days 1 to 7, requires an incubation temperature between 99°F and 100°F with a humidity level of around 60-65%. This initial week fosters embryonic formation, making consistent conditions vital.
Monitoring these parameters closely assures healthy development and sets a strong foundation for subsequent stages. After transition into weeks two and three, it’s crucial to gradually decrease humidity by about 5% weekly while maintaining temperature stability.
This adjustment helps prepare the developing chicks for their external environment once hatched. By day 25 or so, you should be ready for lockdown; increase humidity to approximately 75%, ensuring peacocks have enough moisture during their critical final growth stage.
Peacock Egg Hatching Time and Temperature
Peacock egg hatching time and temperature are critical elements in the delicate process of raising these magnificent birds. With an average incubation period of 27 to 30 days, maintaining a stable temperature between 99°F and 100°F is essential for ensuring embryo development.
As the final days approach, keep a close eye out for signs indicating that hatching is near. Observations such as pipping and the initial crack in the eggshell are exciting indicators that life is about to emerge. You may hear soft peeping sounds as chicks communicate with their siblings, further heightening anticipation.
Post-Hatch Care
Caring for peacock chicks immediately after hatching is a delicate balancing act that requires attention to their specific needs for warmth, nutrition, and socialization.
- A heat lamp positioned safely above them can create this cozy environment, ensuring they stay active while preventing chilling or lethargy.
- Feeding is another pivotal aspect during the early stages.
- Starting with a high-quality chick starter feed enriched with protein content will support their rapid growth.
- Introducing finely chopped fruits and vegetables can enhance their diet as they develop more robust feathers.
- If you nurture weak or late-hatching chicks, don’t hesitate to provide added warmth and hydration. That chick may turn into a beautiful peafowl with selective swimming capabilities when needed.
A gentle electrolyte solution can revive their energy levels. Remember that fostering social interactions among siblings helps build resilience; chick-to-chick bonding boosts confidence and mimics natural behaviours they’ll rely on later in life.
How to Tell If Peacock Eggs Are Fertile or Not
If you’re gearing up to hatch some peacock eggs, the first thing you need to figure out is whether those eggs are actually fertile. No matter how well you set everything up, if the eggs aren’t fertile, you won’t see any little peacocks hatching.

- Use the Candling Method (Light Test)
The most dependable method is candling. About 3 to 5 days after the egg is laid, grab a small flashlight and shine it through the egg in a dark room. If you spot tiny red veins or a little dark spot (that’s the embryo), then congratulations you’ve got a fertile egg! If it just looks like a yellow liquid with no signs of life, it’s probably infertile.
- Observe Mating Behavior
If you’ve noticed your peacock and peahen getting cozy and mating regularly, there’s a good chance the eggs are fertile. But keep in mind, this isn’t a sure thing you’ll still want to do the candling for confirmation.
- Look at the Egg’s Size and Shell Quality
While it’s not the most reliable method, some breeders take a look at the weight and shape of the egg. Fertile eggs tend to be smooth, evenly shaped, and of normal size. But remember this isn’t a guaranteed way to tell.
- Remove Infertile Eggs Early
If an egg looks infertile after candling, it’s a good idea to take it out from under the hen or the incubator. Why? Because old, non-developing eggs can rot, attract bacteria, or even explode which could endanger the healthy eggs.
Common Mistakes People Make When Hatching Peacock Eggs
Hatching peacock eggs can be a truly rewarding experience, but it’s not without its challenges especially if you’re a first-timer. Many folks make some common mistakes that can lead to unsuccessful hatches or unhealthy chicks. Here’s what you should keep an eye on:

- Not Checking Egg Fertility Early On
One of the most significant blunders is waiting too long to check if the eggs are fertile. If you don’t candle the eggs by days 5 to 7, you might waste precious time and jeopardize the health of the viable ones.
- Inconsistent Temperature and Humidity
Whether you’re using an incubator or relying on a broody hen, maintaining a stable temperature and humidity level is essential. Even a slight dip in warmth or overly dry air can halt embryo development. Pro tip: Keep the temperature around 99.5°F (37.5°C) and humidity close to 55%, increasing it to 65–70% in the final days leading up to hatching.
- Turning the Eggs Too Little or Too Much
Eggs need to be turned several times a day to prevent the embryo from sticking to the shell. However, turning them too frequently or not at all can lead to deformities or failed development. If a hen is doing the job naturally, she’ll take care of this. But with an incubator, aim for 3 to 5 turns each day.
- Handling Eggs With Dirty or Wet Hands
It might seem harmless, but the oils and bacteria from your hands can harm the egg’s protective layer. Always handle eggs with clean, dry hands or even better, wear gloves.
- Opening the Incubator Frequently
Curious to take a peek? We totally understand. But opening the incubator too often disrupts the internal environment. Especially during the last three days (the lockdown period), try to avoid opening it at all.
- Ignoring Hen’s Behavior
If you’re depending on a surrogate hen, don’t just assume she’ll do everything perfectly. Sometimes hens abandon the eggs midway. Make sure she’s consistently sitting and displaying broody behavior.
The Perfect Nesting Setup for Peacock Eggs
Whether you’re relying on a broody hen or letting a peahen take charge of her own eggs, setting up the right nesting environment is crucial for a successful hatch. A poorly arranged nest can stress the bird, lead to broken eggs, or even result in failed development. Here’s how to create the ideal space:
- Pick a Quiet, Safe Spot
Peacocks (and hens) thrive in a calm, low-traffic area where they can feel secure while nesting. Steer clear of placing the nest near noisy machinery, potential predators, or areas with constant human activity.
- Keep It Dry and Clean
Moisture is a big no-no — it invites bacteria and can cause eggs to rot. Ensure the nesting area is dry, slightly elevated off the ground, and shielded from rain or flooding.
- Use Soft Nesting Materials
Line the nest with straw, hay, or soft shavings. Avoid anything too rough that might harm the eggs. Soft materials also help maintain temperature and cushion the eggs from any cracks.
- Guard Against Predators
Even in domestic settings, threats like rats, snakes, or cats can be lurking. Use mesh, wire, or a secure coop to keep the nesting area safe — especially at night.
- Ensure Good Ventilation
Fresh air is essential. A stuffy, hot nest can lead to overheating and low hatch rates. Make sure there’s some airflow without letting in drafts or cold winds.
- Minimize Disturbance to the Broody Bird
Once the peahen or hen starts sitting, try to limit your interference. Too much disturbance can cause her to abandon the eggs. Check quietly once a day to make sure everything looks good, then give her some space.
Conclusion
Successfully hatching peacock eggs requires careful research and thorough preparation to ensure the best outcomes for both the eggs and the hatchlings. Key points include: Important aspects of hatching include maintaining optimal temperature and humidity levels, providing a clean and safe environment, and understanding the unique needs of peafowl during incubation.
Each method has advantages; selecting one that aligns with your available resources will significantly impact the success of your hatching efforts. Patience and diligence are crucial throughout this delicate process.
FAQs
How to tell if a peacock egg is fertile?
A fertile peacock egg will show visible veins and possibly an embryo if it’s been incubated for around 7-10 days.
How to tell if an egg is alive or dead?
Regular candling can help you monitor if an egg is alive or dead. In a dark room, hold the egg gently. This allows you to see inside the egg without breaking it.